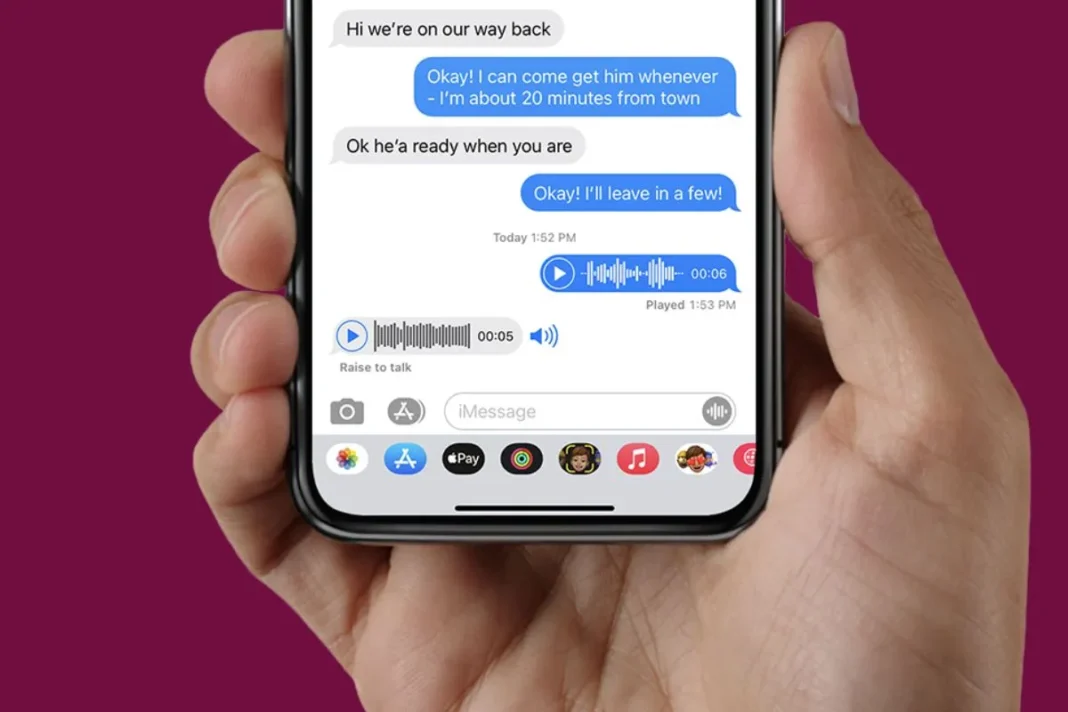
iPhone Tips: The days of typing nonstop on your iPhone or iPad are long gone. With iOS 17, Apple has simplified the audio message-sending experience making communication faster and simpler than ever before. Now users can seamlessly send audio messages to their family and friends. Whether you’re sending a quick update, a heartfelt message or a funny anecdote, audio messages offer a convenient and personal way to communicate. Here’s a step-by-step guide on how you can send audio messages in iOS 17.
iPhone Tips: How to Send Audio Messages on iPhone and iPad
- Navigate to the messages app on your iPhone or iPad and launch it.
- Now you have two options to send audio messages on your iPhone, one of which is to send an audio message to your existing conversation by tapping on that chat.
- You can start a new conversation by tapping on the compose icon in the top right
- After selecting the recipient from the contacts, now you need to tap on the Plus button displayed on the left of the message box. This button brings up a menu of additional options.
- In the menu that appears, look for the microphone icon. Tapping this icon initiates the audio recording process.
- Hold down the microphone icon and begin recording your message. iOS 17 offers seamless recording you don’t need to swipe or press any additional buttons to start.
- Once you’ve finished recording, release your finger from the microphone icon. You’ll see a playback button next to your recorded message. Tap this button to listen back to your message before sending it.
- If you’re unhappy with your recording, you can simply tap the “x” button next to the recording to discard it. You can then start recording again.
- Once you’re satisfied with your recording, tap the blue arrow icon to send the audio message to the recipient. The message will be delivered as a voice recording within the conversation thread.
Keep watching our YouTube Channel ‘DNP INDIA’. Also, please subscribe and follow us on FACEBOOK, INSTAGRAM, and TWITTER


